跨平台应用集成(在ASP.NET Core MVC 应用程序中集成 Microsoft Graph)
作者:陈希章 发表于 2017年6月25日
谈一谈.NET 的跨平台
终于要写到这一篇了。跨平台的支持可以说是 Office 365 平台在设计伊始就考虑的目标。我在前面的文章已经提到过了,Microsoft Graph 服务针对一些主流的开源平台(主要用来做跨平台应用)都有支持,例如 python,nodejs 等。他们真的非常好用,与此同时我虽然对他们也有一定的了解,但要跟我最熟悉的 Microsoft .NET 来比较的话,我自然还是更喜欢后者了。
所以,一直在等待合适的时间,要来写 Microsoft .NET 的跨平台应用,这是多么令人期待的事情啊。经过一段时间的研究,我今天正式隆重地给大家介绍,如何在 ASP.NET Core 平台上面构建一个 MVC 应用程序,并且在里面集成 Microsoft Graph。
关于Microsoft .NET 这几年的发展,我是感到比较兴奋的,作为一个从.NET 1.1就开始追随的骨灰级粉丝,我很高兴地看到现在.NET 已经真正迈出了跨平台的脚步,而且完全开源了。如果要讲这个话题,恐怕我是一时半会刹不住车的,所以我就此打住吧,有兴趣的朋友们可以通过下面这个网址了解更多.NET 的发展情况。 
这一篇文章用到的技术,是最新的.NET Core 中 ASP.NET Core 提供的,我使用了其中的 MVC 这个模板创建了一个简单的应用程序,并且略微改造了一下,使其能够采用 Azure AD 进行身份验证,继而通过获得的用户凭据能实现对 Microsoft Graph 的使用。
ASP.NET Core MVC 整合了 Graph 的场景效果
我已经编写好了一个完整的范例,请大家通过下面的地址进行下载,我后面将大致提到一些重点的功能是如何实现的 https://github.com/chenxizhang/office365dev/tree/master/samples/aspnetcoremvc
在准备这个范例,以及编写这个文章的时候,为了全面地测试在跨平台开发方面的能力,我完全采用了一台全新的 MacBook 作为工作用机,开发工具我使用的是 Visual Studio Code(这个直接就可以在 Mac 里面运行),就像你看到的这样。
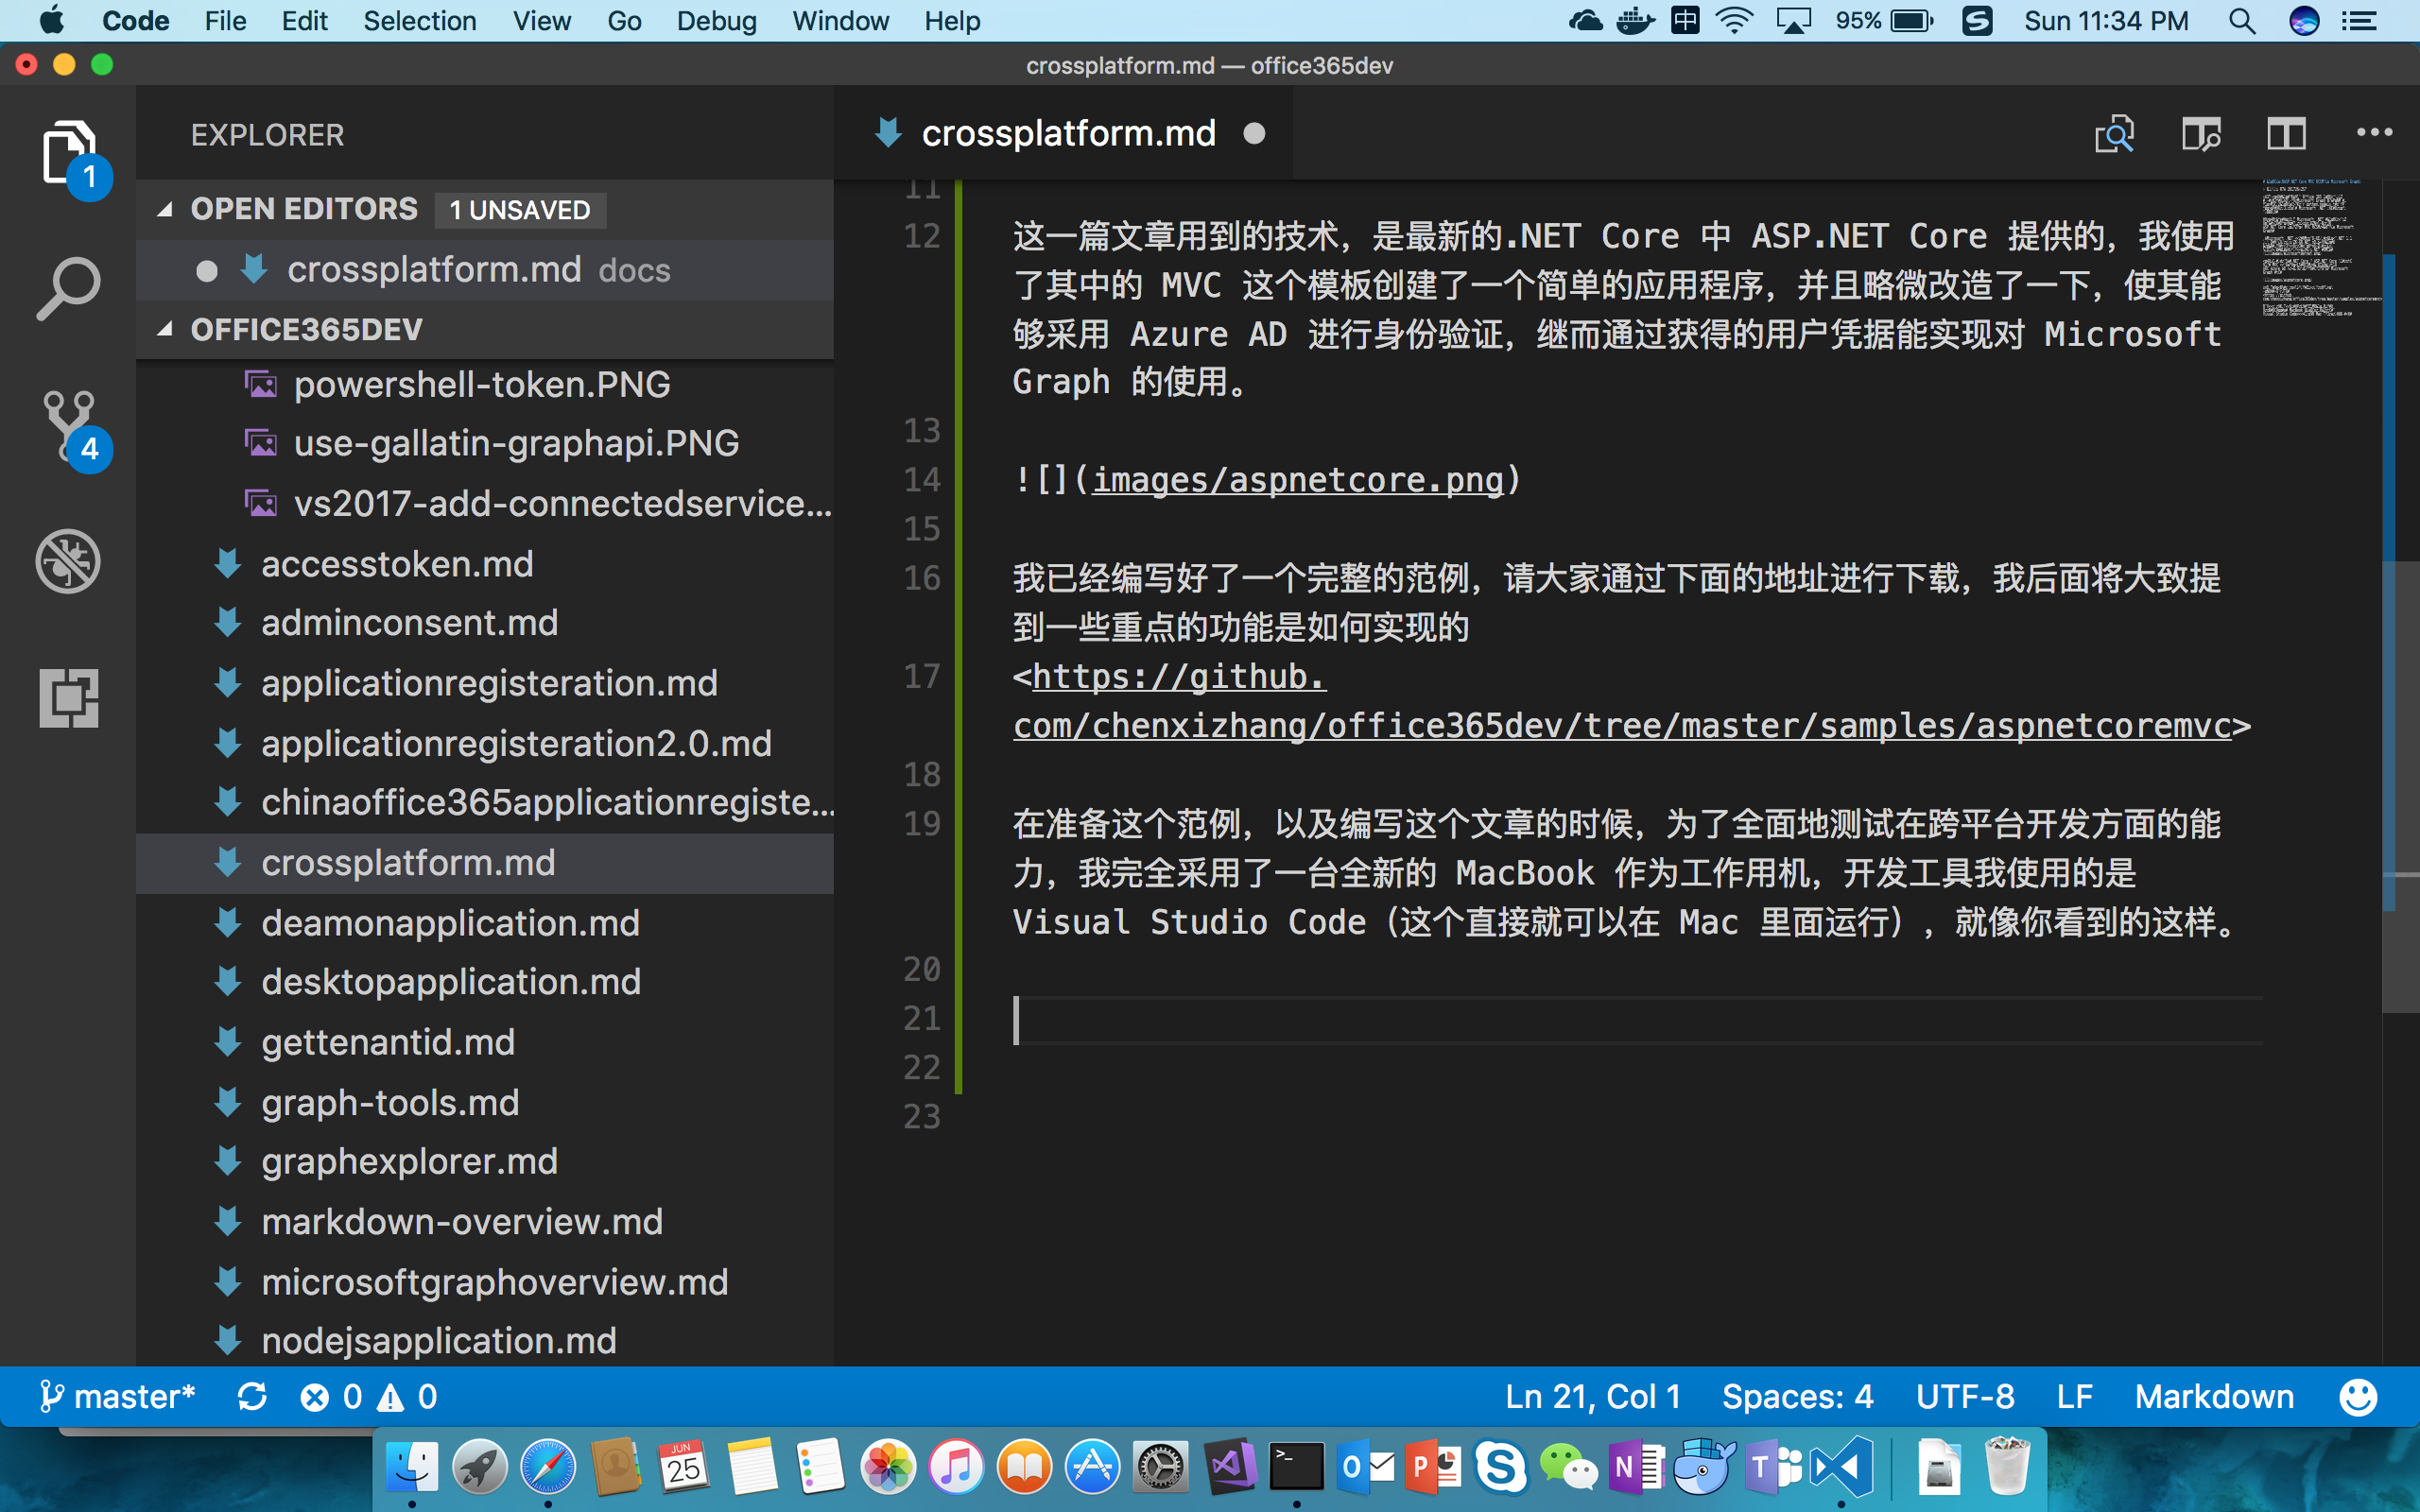
好的,大致背景我也交代清楚了,如果大家下载了代码,可以跟我一起来体验一下这个应用程序运行起来的效果吧 —— 我推荐你也用 Visual Studio Code 来打开这个应用程序。(是的,你不再需要安装 Visual Studio 完整版)
打开命令行工具,我们很快要运行几个命令 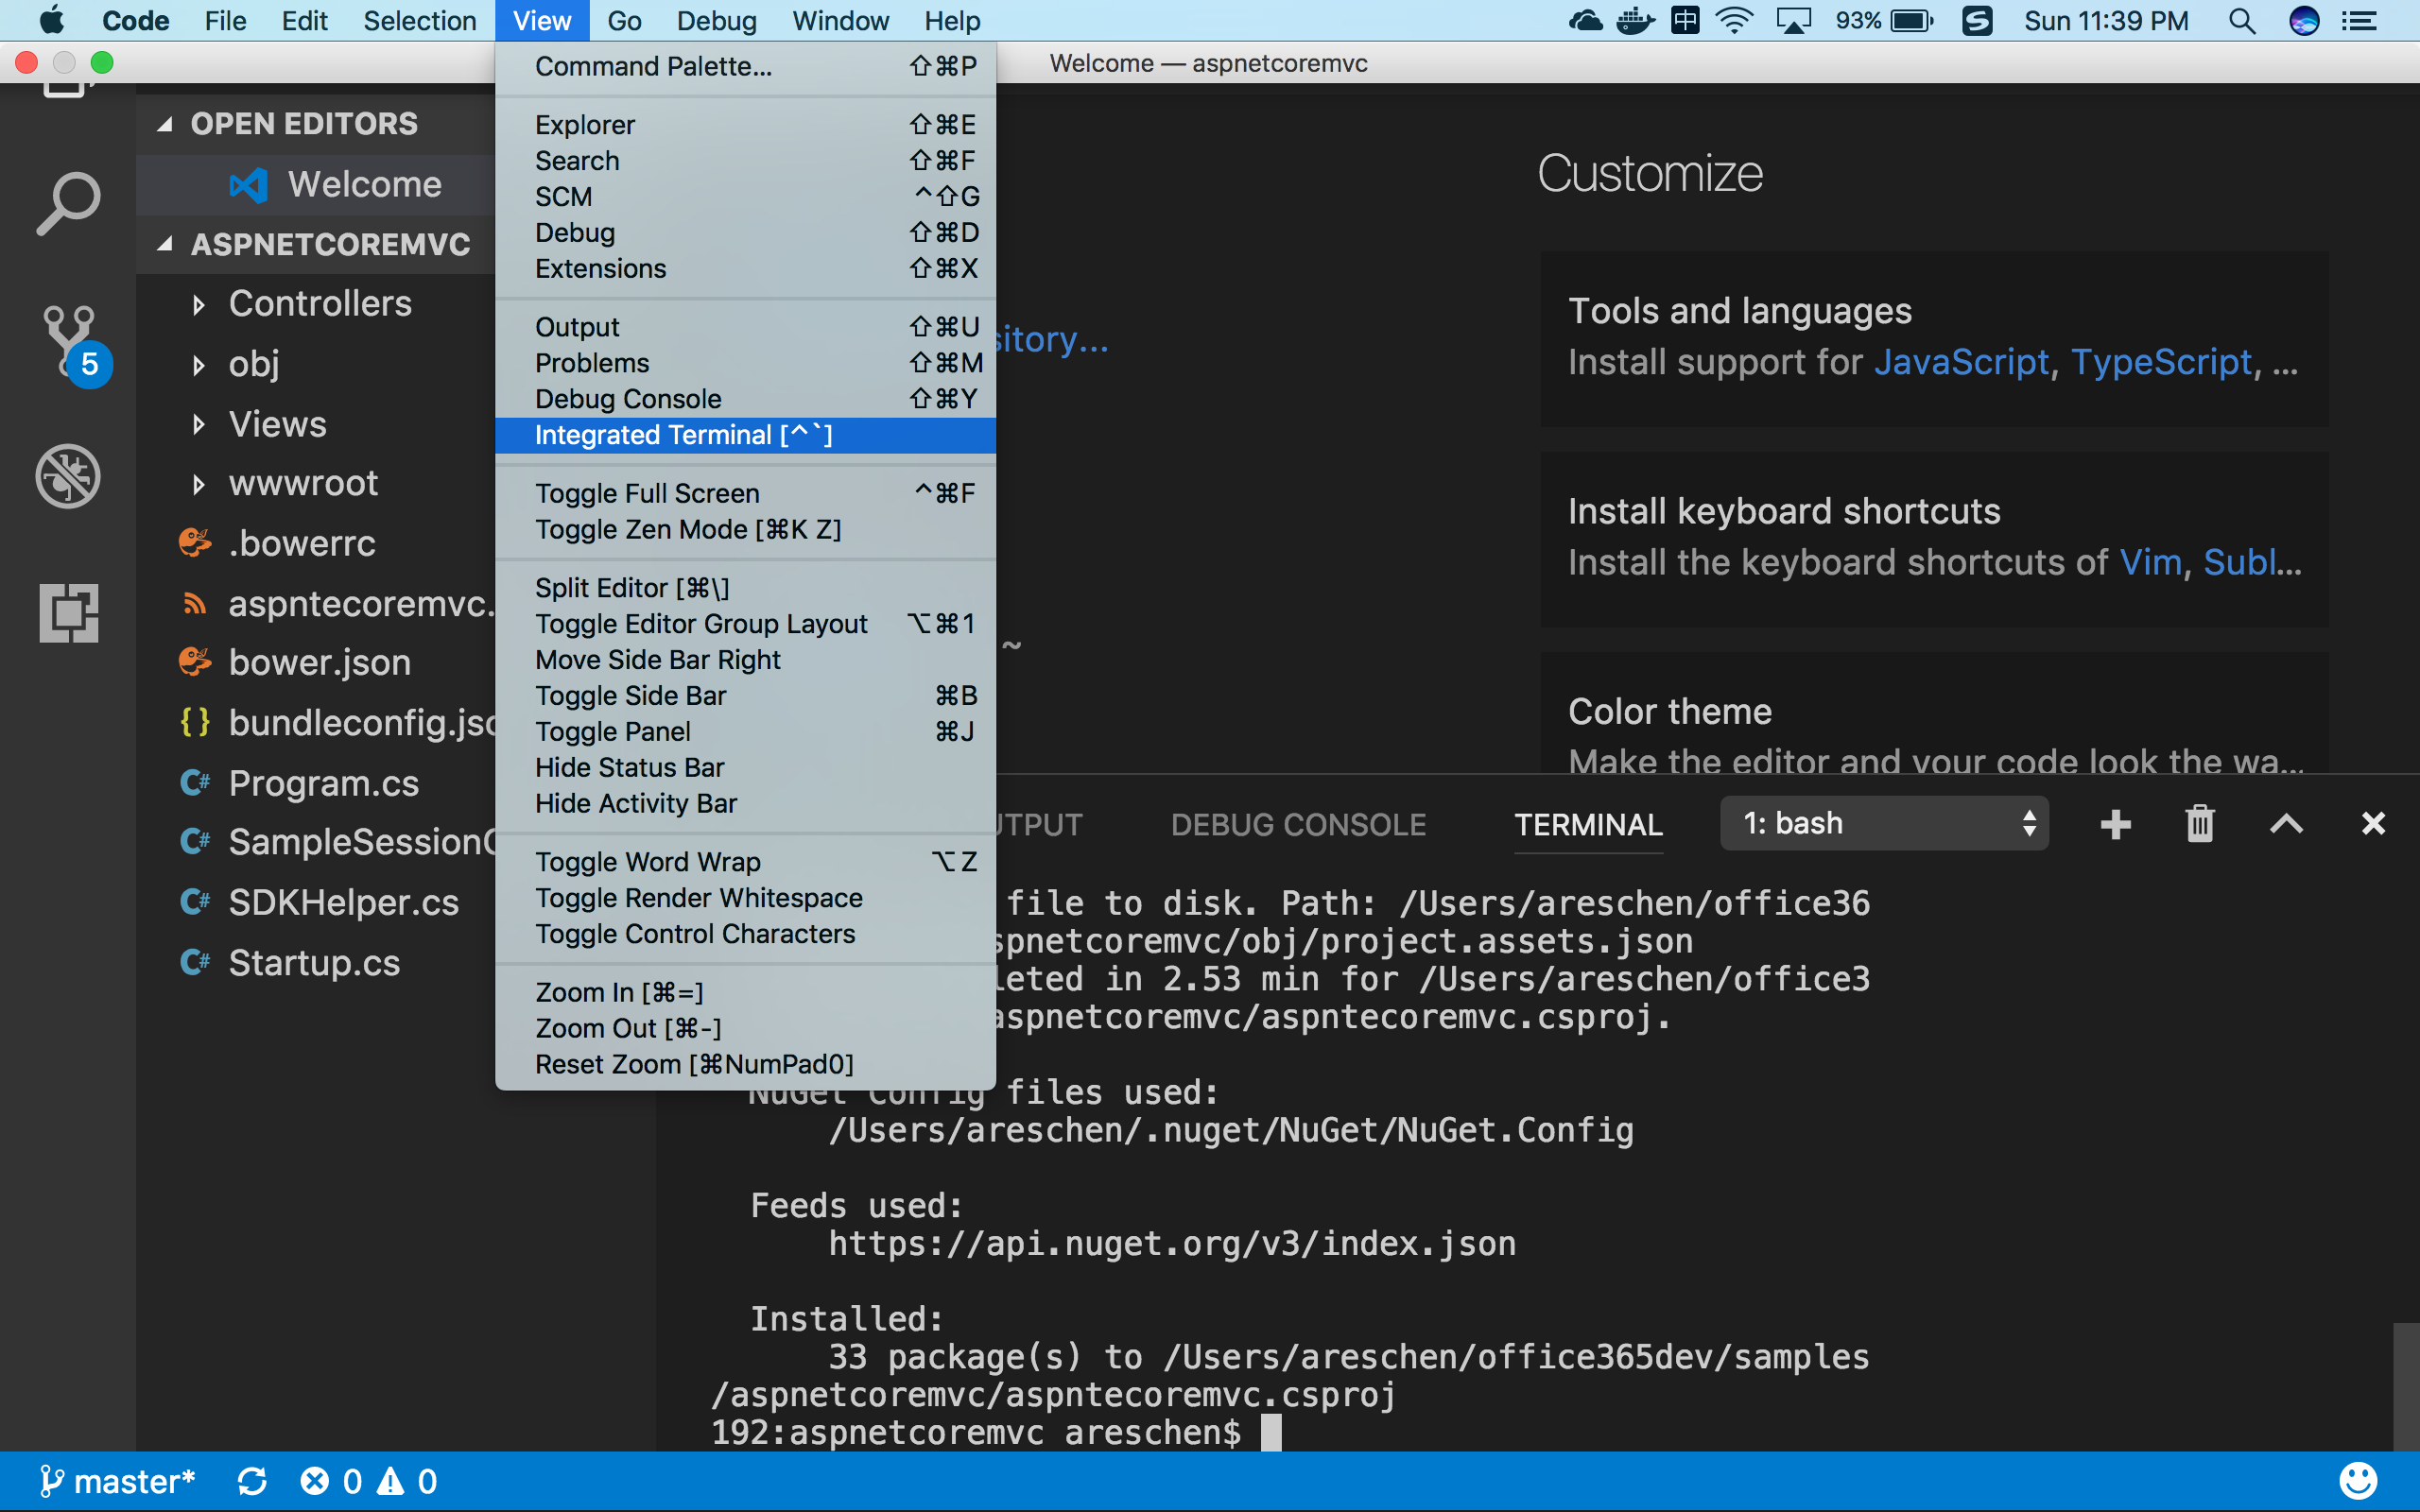
请运行下面的命令,下载当前项目所依赖的一些组件包
dotnet restore
然后运行下面的命令,可以将当前项目运行起来
dotnet run
如果不出意外的话,我写好的这个简单的应用程序会启动起来,并且在本机的5000端口进行监听
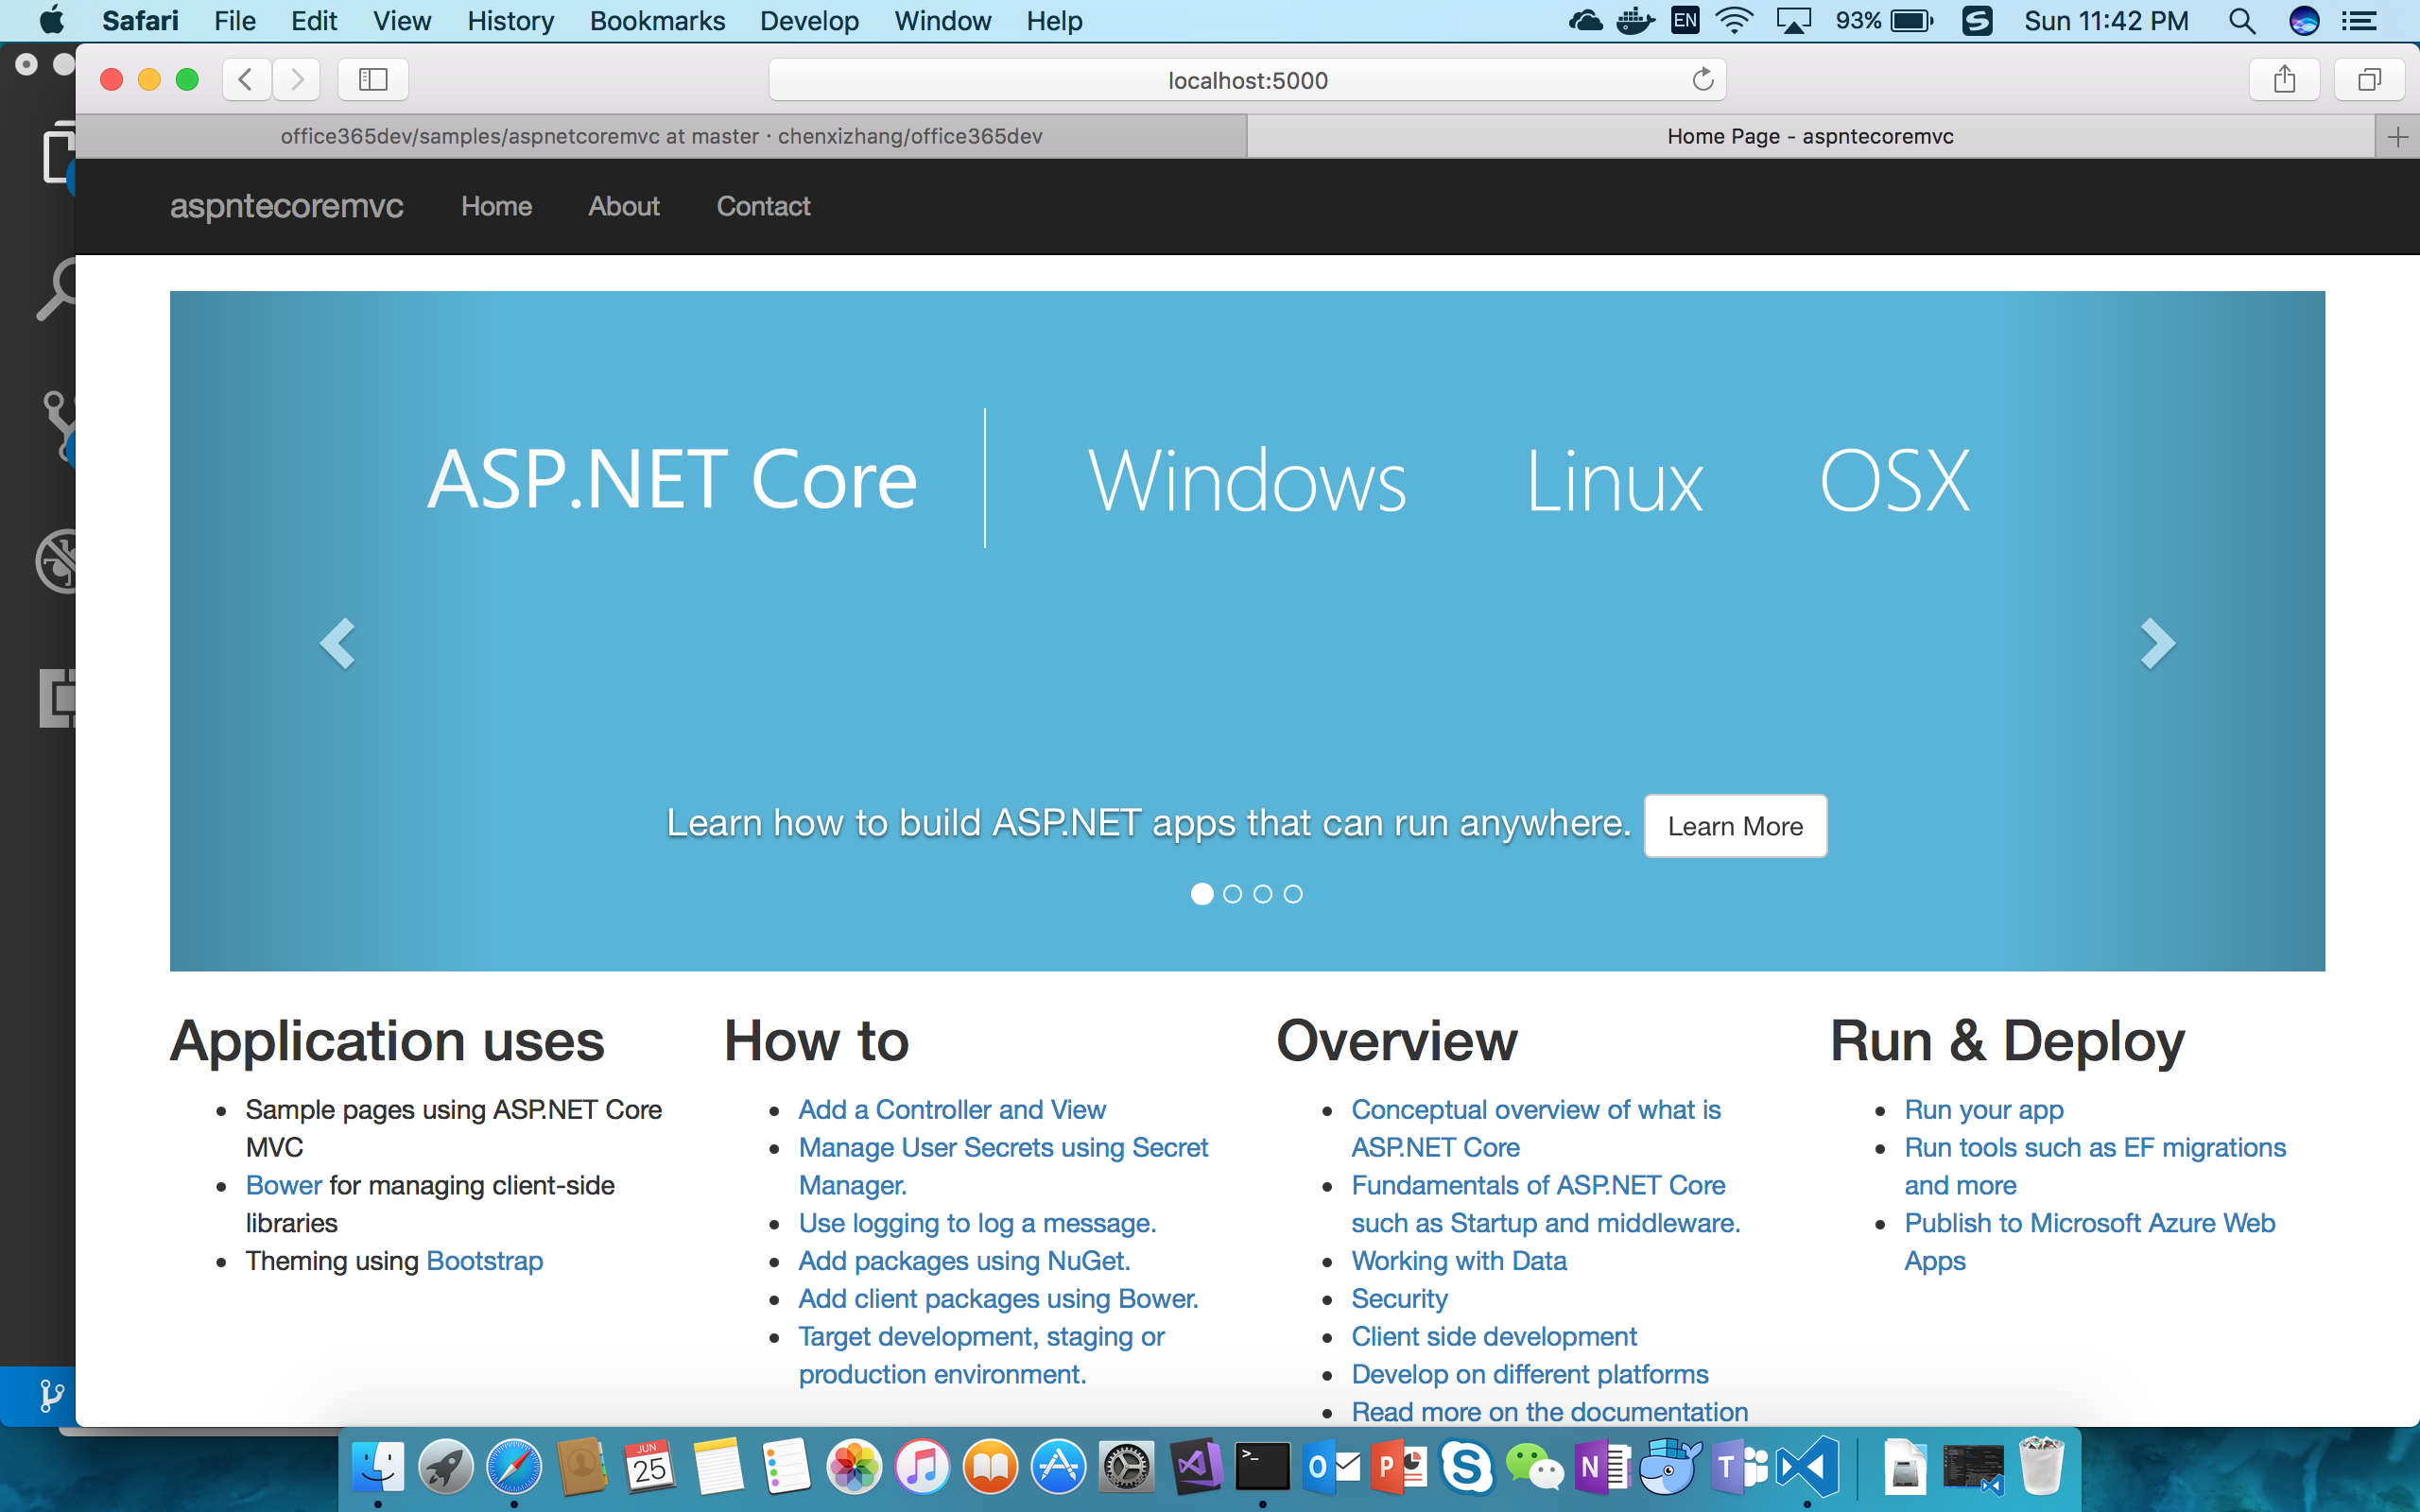
看起来跟我们一般的 MVC 程序真的是一样一样的,此时,请点击页面顶部左上角的“About”,看看会发生什么呢

输入正确的用户名和密码后,你就可以看到该用户的基本信息了
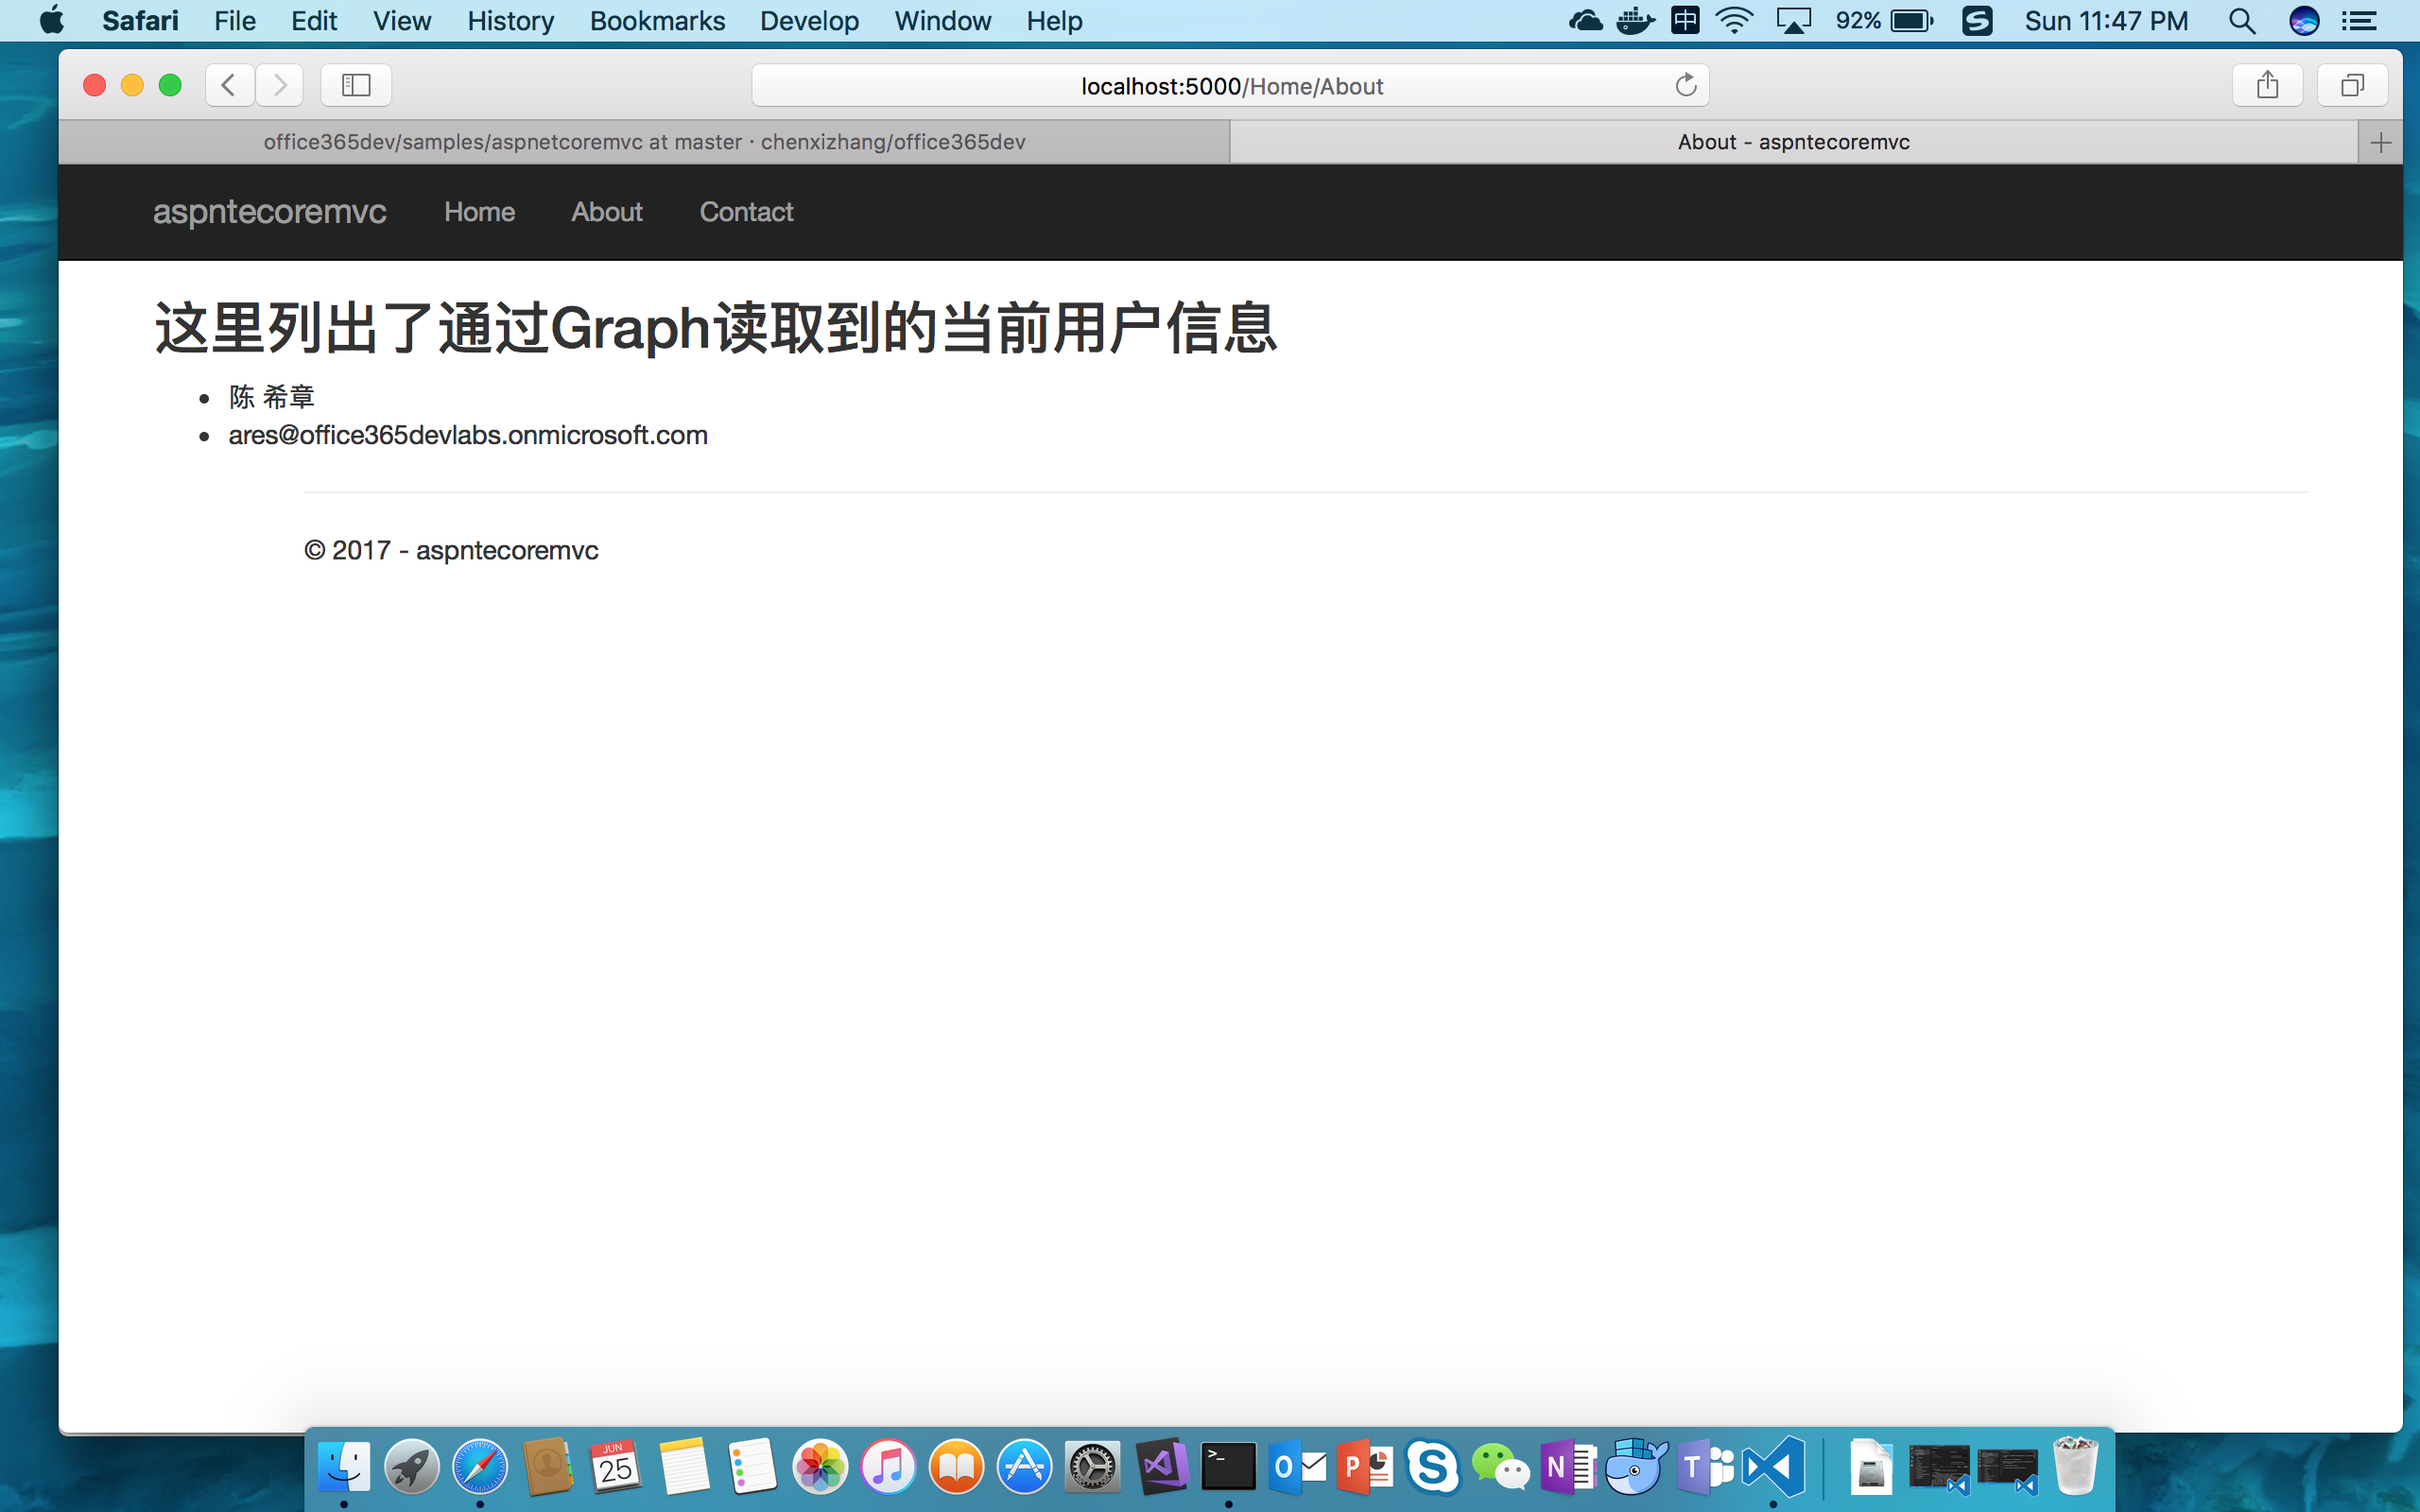
好了,功能确实就是这样,足够简单,不是吗?但是正如我猜想你应该会想到的那样,只要打开了 Graph 这扇大门,无穷的宝藏就等着你尽情地创造性地利用了。
代码解析
下面我还是简单地讲解一下我在标准的模板基础上做过哪些定制,从而实现了上面的功能的。
要创建这个应用程序,你需要安装 dotnet sdk(https://www.microsoft.com/net/download/core ),然后在本地命令行工具中运行 dotnet new mvc 即可
首先,我为项目添加了几个外部组件包,这是通过修改项目定义文件(aspnetcoremvc.csproj)来实现的。
<PackageReference Include="Microsoft.Graph" Version="1.4.0"/>
<PackageReference Include="Microsoft.AspNetCore.Authentication.OpenIdConnect" Version="1.1.0"/>
<PackageReference Include="Microsoft.AspNetCore.Authentication.Cookies" Version="1.1.0"/>
<PackageReference Include="Microsoft.IdentityModel.Clients.ActiveDirectory" Version="3.13.9"/>
<PackageReference Include="Microsoft.AspNetCore.Session" Version="1.1.0"/>
<PackageReference Include="Microsoft.Extensions.Caching.Memory" Version="1.1.2"/>
这些组件都是托管在 nuget.org 这个网站上面,甚至整个 dotnet core 的核心组件也都是开源托管在这个上面。一般添加完这些组件后,都需要运行 dotnet restore 命令在本地进行还原。
然后,我修改了 Startup.cs 文件。这是 asp.net core 应用程序的一个标准文件,用来定义程序入口,加载相关服务和中间件。(这里涉及的知识面太多,以至于我无法一一说明,有兴趣可以参考 https://asp.net/core 了解。
using System;
using System.Collections.Generic;
using System.Linq;
using System.Threading.Tasks;
using Microsoft.AspNetCore.Builder;
using Microsoft.AspNetCore.Hosting;
using Microsoft.Extensions.Configuration;
using Microsoft.Extensions.DependencyInjection;
using Microsoft.Extensions.Logging;
//这里增加了一写命名空间导入
using Microsoft.Extensions.Caching;
using Microsoft.AspNetCore.Authentication.Cookies;
using Microsoft.AspNetCore.Authentication.OpenIdConnect;
using Microsoft.AspNetCore.Session;
using Microsoft.IdentityModel.Protocols.OpenIdConnect;
using Microsoft.IdentityModel.Clients.ActiveDirectory;
using Microsoft.AspNetCore.Authentication;
using System.Security.Claims;
using Microsoft.AspNetCore.Http;

namespace aspntecoremvc
{
    public class Startup
    {

        // This method gets called by the runtime. Use this method to add services to the container.
        //这里引入一些服务,注入一些组件
        public void ConfigureServices(IServiceCollection services)
        {
            services.AddSession();
            services.AddAuthentication(sharedoptions => sharedoptions.SignInScheme = CookieAuthenticationDefaults.AuthenticationScheme);

            // Add framework services.
            services.AddMvc();
        }

        //这里定义了一些静态信息
        private readonly string ClientId="e91ef175-e38d-4feb-b1ed-f243a6a81b93";
        private readonly string Authority=String.Format("https://login.microsoftonline.com/{0}","office365devlabs.onmicrosoft.com");
        private readonly string ClientSecret="2F5jdoGGNn59oxeDLE9fXx5tD86uvzIji74dmLaj3YI=";
        private readonly string GraphResourceId="https://graph.microsoft.com";
        private readonly string CallbackPath ="/signin-oidc";

        // This method gets called by the runtime. Use this method to configure the HTTP request pipeline.
        public void Configure(IApplicationBuilder app, IHostingEnvironment env, ILoggerFactory loggerFactory)
        {
            loggerFactory.AddConsole();
            loggerFactory.AddDebug();

            if (env.IsDevelopment())
            {
                app.UseDeveloperExceptionPage();
                app.UseBrowserLink();
            }
            else
            {
                app.UseExceptionHandler("/Home/Error");
            }

            app.UseStaticFiles();
            //这里几步是最关键的,定义了如何进行身份认证以及如何保存
            app.UseSession();
            app.UseCookieAuthentication();
            app.UseOpenIdConnectAuthentication(new OpenIdConnectOptions{
                ClientId = ClientId,
                Authority = Authority,
                ClientSecret = ClientSecret,
                ResponseType = OpenIdConnectResponseType.CodeIdToken,
                CallbackPath = CallbackPath,
                GetClaimsFromUserInfoEndpoint =true,
                Events = new OpenIdConnectEvents{
                    OnAuthorizationCodeReceived = OnAuthorizationCodeReceived
                }
            });

            app.UseMvc(routes =>
            {
                routes.MapRoute(
                    name: "default",
                    template: "{controller=Home}/{action=Index}/{id?}");
            });
        }
        private async Task OnAuthorizationCodeReceived(AuthorizationCodeReceivedContext context)
        {

            // 将 Token 信息保存在 session 里面,后续 Graph 就可以直接调用了

            string userObjectId = (context.Ticket.Principal.FindFirst("http://schemas.microsoft.com/identity/claims/objectidentifier"))?.Value;
            ClientCredential clientCred = new ClientCredential(ClientId, ClientSecret);
            AuthenticationContext authContext = new AuthenticationContext(Authority, new SampleSessionCache(userObjectId, context.HttpContext.Session));
            AuthenticationResult authResult = await authContext.AcquireTokenByAuthorizationCodeAsync(
                context.ProtocolMessage.Code, new Uri(context.Properties.Items[OpenIdConnectDefaults.RedirectUriForCodePropertiesKey]), clientCred, GraphResourceId);


        }

        private Task OnAuthenticationFailed(FailureContext context)
        {
            context.HandleResponse();
            context.Response.Redirect("/Home/Error?message=" + context.Failure.Message);
            return Task.FromResult(0);
        }
    }
}
我还专门定义了一个简单的类用来保存 Token 信息。为了简单起见,我们将 Token 保存在 Session 里面,这样的话,用户登陆一次后,在一个会话里面就不需要多次登录,而是可以直接重用这些 Token。
这个类其实我是重用了之前在 ASP.NET MVC 开发中的那个类,没有什么特别要交待的,请直接打开 SampleSessionCache.cs 这个文件了解即可。
接下来,为了便于后续在 Controller 里面快速地访问到 Graph,我对 GraphServiceClient 进行了封装,请参考 SDKHelper.cs 这个文件
using System;
using System.Collections.Generic;
using System.Linq;
using System.Security.Claims;
using System.Threading.Tasks;
using Microsoft.AspNetCore.Authorization;
using Microsoft.AspNetCore.Mvc;
using Microsoft.Extensions.Configuration;
using Microsoft.IdentityModel.Clients.ActiveDirectory;
using Microsoft.Graph;
using System.Net.Http.Headers;
using Microsoft.AspNetCore.Http;


namespace aspntecoremvc{
    public static class SDKHelper{

        //这里其实是对 ControllerBase 这个类型进行了扩展
        public static async Task<GraphServiceClient> GetAuthenticatedClient(this ControllerBase controller){

            var Authority = String.Format("https://login.microsoftonline.com/{0}","office365devlabs.onmicrosoft.com");
            var ClientId = "e91ef175-e38d-4feb-b1ed-f243a6a81b93";
            var ClientSecret = "2F5jdoGGNn59oxeDLE9fXx5tD86uvzIji74dmLaj3YI=";
            var GraphResourceId = "https://graph.microsoft.com";


            string userObjectId = controller.HttpContext.User.FindFirst("http://schemas.microsoft.com/identity/claims/objectidentifier")?.Value;
            ClientCredential clientCred = new ClientCredential(ClientId, ClientSecret);
            AuthenticationContext authContext = new AuthenticationContext(Authority, new SampleSessionCache(userObjectId, controller.HttpContext.Session));
            AuthenticationResult result = await authContext.AcquireTokenSilentAsync(GraphResourceId,ClientId);

            GraphServiceClient client = new GraphServiceClient(new DelegateAuthenticationProvider(async request=>{
                request.Headers.Authorization = new AuthenticationHeaderValue("bearer", result.AccessToken);
                await Task.FromResult(0);
            }));

            return client;

        }

    }

}
有了上面的准备,在真正需要用到 Graph 服务的地方,我们的代码是非常简单的,请参考 HomeController.cs 文件中的 About 方法
[Authorize]//用这个标记该方法需要用户登录
public async Task<IActionResult> About()
{
    var client = await this.GetAuthenticatedClient();
    //获取用户详细信息,然后传递给视图
    return View(await client.Me.Request().GetAsync());
}
到这里为止,我的这个例子的主要代码就解释完了。你可能会觉得,这太简单了吧。如果你这样认为,我一方面感到很高兴,因为这是我希望呈现出来的效果;另一方面我要提醒你的是,由于 asp.net core 是一个还比较新的技术,这方面的材料相当少,其实我还是做了相当多的研究才精炼成这样的,其间遇到过多少坑,多少曲折迂回,不足以外人道也,但我很看好 asp.net core,并且将持续在此之上进行投资,这也几乎是可以肯定的。
结语
这个例子实现的功能并没有什么惊天动地的,但与咱们之前一系列的范例相呼应的是,我是要帮助大家打开 Microsoft Graph 的大门,至于你要怎么去利用里面丰富的宝藏,我就选择的权利交给你自己。
写到这里,我的这个系列文章的第一个大的里程碑应该是要实现了。我用了将近四个月的时间,写了十几篇跟 Office 365 开发入门,以及具体的 Microsoft Graph 开发有关的文章,差不多算是比较完整了。
我还将继续写后续的内容,例如 Office Add-ins,SharePoint 开发,Teams 开发(Bot 等),有兴趣的朋友们可继续关注。
2017年6月30日更新
作为一个不断追求代码复用的程序猿,我这两天在上面这个范例基础上对代码进行了一定的封装,如果你此时查看代码的话,会发现已经有了较大的不同。
首先,我将所有公用的代码全部提取到了一个单独的项目(Office365GraphCoreMVCHelper )中,这里面的关键代码有
一个用来读取配置文件的类型
namespace Office365GraphCoreMVCHelper
{
    public class AppSetting
    {

        public Info Office365ApplicationInfo { get; set; }

        public class Info
        {
            public string ClientId { get; set; }
            public string ClientSecret { get; set; }
            public string Authority { get; set; }

            public string GraphResourceId { get; set; }
        }
    }
}
一个可公用的Startup类型
using System;
using System.Collections.Generic;
using System.Linq;
using System.Threading.Tasks;
using Microsoft.AspNetCore.Builder;
using Microsoft.AspNetCore.Hosting;
using Microsoft.Extensions.Configuration;
using Microsoft.Extensions.DependencyInjection;
using Microsoft.Extensions.Logging;
using Microsoft.Extensions.Caching;
using Microsoft.AspNetCore.Authentication.Cookies;
using Microsoft.AspNetCore.Authentication.OpenIdConnect;
using Microsoft.AspNetCore.Session;
using Microsoft.IdentityModel.Protocols.OpenIdConnect;
using Microsoft.IdentityModel.Clients.ActiveDirectory;
using Microsoft.AspNetCore.Authentication;
using System.Security.Claims;
using Microsoft.AspNetCore.Http;
using Microsoft.AspNetCore.Mvc;
using Microsoft.Extensions.Options;

namespace Office365GraphCoreMVCHelper
{
    public class Startup
    {

        static IConfigurationRoot Configuration { get; set; }

        public Startup(IHostingEnvironment env)
        {
            Configuration = new ConfigurationBuilder()
                            .SetBasePath(env.ContentRootPath)
                            .AddJsonFile("appsettings.json")
                            .Build();
        }

        // This method gets called by the runtime. Use this method to add services to the container.
        public void ConfigureServices(IServiceCollection services)
        {

            //这里将配置信息注入到应用程序中
            services.AddOptions();
            services.Configure<AppSetting>(Configuration);

            services.AddSession();
            services.AddAuthentication(sharedoptions => sharedoptions.SignInScheme = CookieAuthenticationDefaults.AuthenticationScheme);

            // Add framework services.
            services.AddMvc();
        }


        // This method gets called by the runtime. Use this method to configure the HTTP request pipeline.
        public void Configure(IApplicationBuilder app, IHostingEnvironment env, ILoggerFactory loggerFactory)
        {
            loggerFactory.AddConsole();
            loggerFactory.AddDebug();

            if (env.IsDevelopment())
            {
                app.UseDeveloperExceptionPage();
                app.UseBrowserLink();
            }
            else
            {
                app.UseExceptionHandler("/Home/Error");
            }

            //ConfigureMiddleware(app,env,loggerFactory);

            app.UseStaticFiles();
            app.UseSession();
            app.UseCookieAuthentication();
            //获得之前注入的配置信息
            var options = app.ApplicationServices.GetRequiredService<IOptions<AppSetting>>();

            app.UseOpenIdConnectAuthentication(new OpenIdConnectOptions
            {
                ClientId = options.Value.Office365ApplicationInfo.ClientId,
                Authority = options.Value.Office365ApplicationInfo.Authority,
                ClientSecret = options.Value.Office365ApplicationInfo.ClientSecret,
                ResponseType = OpenIdConnectResponseType.CodeIdToken,
                CallbackPath = "/signin-oidc",
                GetClaimsFromUserInfoEndpoint = true,
                Events = new OpenIdConnectEvents
                {
                    OnAuthorizationCodeReceived = async (context) =>
                    {
                        string userObjectId = (context.Ticket.Principal.FindFirst("http://schemas.microsoft.com/identity/claims/objectidentifier"))?.Value;
                        ClientCredential clientCred = new ClientCredential(options.Value.Office365ApplicationInfo.ClientId, options.Value.Office365ApplicationInfo.ClientSecret);
                        AuthenticationContext authContext = new AuthenticationContext(options.Value.Office365ApplicationInfo.Authority, new SampleSessionCache(userObjectId, context.HttpContext.Session));
                        AuthenticationResult authResult = await authContext.AcquireTokenByAuthorizationCodeAsync(
                            context.ProtocolMessage.Code, new Uri(context.Properties.Items[OpenIdConnectDefaults.RedirectUriForCodePropertiesKey]), clientCred, options.Value.Office365ApplicationInfo.GraphResourceId);
                    }
                }
            });

            app.UseMvc(routes =>
            {
                routes.MapRoute(
                    name: "default",
                    template: "{controller=Home}/{action=Index}/{id?}");
            });
        }

        private Task OnAuthenticationFailed(FailureContext context)
        {
            context.HandleResponse();
            context.Response.Redirect("/Home/Error?message=" + context.Failure.Message);
            return Task.FromResult(0);
        }
    }
}
改造过的SDKHelper类型,主要增加了从配置文件中读取信息的功能
using System;
using System.Net.Http.Headers;
using System.Threading.Tasks;
using Microsoft.Graph;
using Microsoft.IdentityModel.Clients.ActiveDirectory;
using Microsoft.AspNetCore.Mvc;
using Microsoft.Extensions.Options;
using Microsoft.AspNetCore.Builder;

namespace Office365GraphCoreMVCHelper
{
    public static class SDKHelper
    {
        public static async Task<GraphServiceClient> GetAuthenticatedClient(this ControllerBase controller,IOptions<AppSetting> options)
        {
            var Authority = options.Value.Office365ApplicationInfo.Authority;
            var ClientId = options.Value.Office365ApplicationInfo.ClientId;
            var ClientSecret = options.Value.Office365ApplicationInfo.ClientSecret;
            var GraphResourceId = options.Value.Office365ApplicationInfo.GraphResourceId;


            string userObjectId = controller.HttpContext.User.FindFirst("http://schemas.microsoft.com/identity/claims/objectidentifier")?.Value;
            ClientCredential clientCred = new ClientCredential(ClientId, ClientSecret);
            AuthenticationContext authContext = new AuthenticationContext(Authority, new SampleSessionCache(userObjectId, controller.HttpContext.Session));
            AuthenticationResult result = await authContext.AcquireTokenSilentAsync(GraphResourceId, ClientId);

            GraphServiceClient client = new GraphServiceClient(new DelegateAuthenticationProvider(async request =>
            {
                request.Headers.Authorization = new AuthenticationHeaderValue("bearer", result.AccessToken);
                await Task.FromResult(0);
            }));

            return client;

        }

    }
}
由于有了这个公用的组件,那么在aspnetcoremvc这个主程序中,我可以极大地简化代码。
首先,我在项目文件中定义了对公用组件的引用
<Project Sdk="Microsoft.NET.Sdk.Web">

  <PropertyGroup>
    <TargetFramework>netcoreapp1.1</TargetFramework>
  </PropertyGroup>


  <ItemGroup>
    <PackageReference Include="Microsoft.AspNetCore" Version="1.1.2" />
    <PackageReference Include="Microsoft.AspNetCore.Mvc" Version="1.1.3" />
    <PackageReference Include="Microsoft.AspNetCore.StaticFiles" Version="1.1.2" />
    <PackageReference Include="Microsoft.Extensions.Logging.Debug" Version="1.1.2" />
    <PackageReference Include="Microsoft.VisualStudio.Web.BrowserLink" Version="1.1.2" />
    <PackageReference Include="Microsoft.Graph" Version="1.4.0"/>
    <PackageReference Include="Microsoft.AspNetCore.Authentication.OpenIdConnect" Version="1.1.0"/>
    <PackageReference Include="Microsoft.AspNetCore.Authentication.Cookies" Version="1.1.0"/>
    <PackageReference Include="Microsoft.IdentityModel.Clients.ActiveDirectory" Version="3.13.9"/>
    <PackageReference Include="Microsoft.AspNetCore.Session" Version="1.1.0"/>
    <PackageReference Include="Microsoft.Extensions.Caching.Memory" Version="1.1.2"/>
  </ItemGroup>
  <ItemGroup>
    <ProjectReference Include="..\Office365GraphCoreMVCHelper\Office365GraphCoreMVCHelper.csproj" />
  </ItemGroup>

</Project>
然后,我删除了该项目中的Startup类型,取而代之的在Program中直接引用公用组件中定义好的那个Startup
using System;
using System.Collections.Generic;
using System.IO;
using System.Linq;
using System.Threading.Tasks;
using Microsoft.AspNetCore.Hosting;
using Office365GraphCoreMVCHelper;

namespace aspntecoremvc
{
    public class Program
    {
        public static void Main(string[] args)
        {
            var host = new WebHostBuilder()
                .UseSetting("startupAssembly","Office365GraphCoreMVCHelper")
                .UseKestrel()
                .UseContentRoot(Directory.GetCurrentDirectory())
                .UseIISIntegration()
                .Build();

            host.Run();
        }
    }
}
当然,我们需要定义一个配置文件来保存clientId等信息,该文件命名为appsettings.json
{
    "Office365ApplicationInfo":{
        "ClientId":"e91ef175-e38d-4feb-b1ed-f243a6a81b93",
        "ClientSecret":"2F5jdoGGNn59oxeDLE9fXx5tD86uvzIji74dmLaj3YI=",
        "Authority":"https://login.microsoftonline.com/office365devlabs.onmicrosoft.com",
        "GraphResourceId":"https://graph.microsoft.com"
    }
}
最后,在HomeController(或者同类需要用到Microsoft Graph的Controller)中,通过下面的代码来实现调用
using System;
using System.Collections.Generic;
using System.Linq;
using System.Security.Claims;
using System.Threading.Tasks;
using Microsoft.AspNetCore.Authorization;
using Microsoft.AspNetCore.Mvc;
using Microsoft.Extensions.Configuration;
using Microsoft.IdentityModel.Clients.ActiveDirectory;
using Microsoft.Graph;
using System.Net.Http.Headers;
using Office365GraphCoreMVCHelper;
using Microsoft.Extensions.Options;

namespace aspntecoremvc.Controllers
{
    public class HomeController : Controller
    {
        private readonly IOptions<AppSetting> Options;
        public HomeController(IOptions<AppSetting> options)
        {
            this.Options = options;
        }

        public IActionResult Index()
        {

            return View();
        }

        [Authorize]
        public async Task<IActionResult> About()
        {
            var client = await this.GetAuthenticatedClient(this.Options);
            return View(await client.Me.Request().GetAsync());
        }

        public IActionResult Contact()
        {
            ViewData["Message"] = "Your contact page.";

            return View();
        }

        public IActionResult Error()
        {
            return View();
        }
    }
}
2017年7月1日更新
我进一步上面分离出来的这个Office365GraphCoreMVCHelper的项目打包成了一个nuget的packagehttps://www.nuget.org/packages/Office365GraphCoreMVCHelper/,以便实现更大范围的复用。

如何使用它呢?很简单,请按照下面的步骤即可
- 创建一个ASP.NET Core MVC项目
dotnet new mvc
- 增加对于Office365GraphCoreMVCHelper的引用,修改csproj文件,添加如下的定义
- 下载这个包
dotnet restore
- 修改Program.cs文件,使用Office365GraphCoreMVCHelper 定义好的Startup类(增加下面代码中的UseSetting这一句)。当前项目的Startup.cs文件可以删除。
using System;
using System.Collections.Generic;
using System.IO;
using System.Linq;
using System.Threading.Tasks;
using Microsoft.AspNetCore.Hosting;

namespace testaspnetcoremvc
{
    public class Program
    {
        public static void Main(string[] args)
        {
            var host = new WebHostBuilder()
                .UseKestrel()
                .UseContentRoot(Directory.GetCurrentDirectory())
                .UseIISIntegration()
                .UseSetting("startupAssembly","Office365GraphCoreMVCHelper")
                .Build();

            host.Run();
        }
    }
}
- 修改appsettings.json文件,确保里面有如下Office365ApplicationInfo信息
{
  "Office365ApplicationInfo":{
    "ClientId":"e91ef175-e38d-4feb-b1ed-f243a6a81b93",
    "ClientSecret":"2F5jdoGGNn59oxeDLE9fXx5tD86uvzIji74dmLaj3YI=",
    "Authority":"https://login.microsoftonline.com/office365devlabs.onmicrosoft.com",
    "GraphResourceId":"https://graph.microsoft.com"
  },
  "Logging": {
    "IncludeScopes": false,
    "LogLevel": {
      "Default": "Warning"
    }
  }
}
- 修改HomeController,在需要进行身份验证以及调用Graph API的地方使用如下的代码即可
//添加几个引用
using Office365GraphCoreMVCHelper;
using Microsoft.Extensions.Options;
using Microsoft.AspNetCore.Authorization;

//修改构造函数,接受注入的配置信息
private IOptions<AppSetting> settings;
public HomeController(IOptions<AppSetting> options)
{
    settings = options;
}


//在需要调用Graph API的Action中做如下修改
[Authorize]
public async Task<IActionResult> About()
{
    var client = await this.GetAuthenticatedClient(settings);
    var user = client.Me.Request().GetAsync().Result;

    ViewData["Message"] = $"Hello,{user.DisplayName}";
    return View();
}